

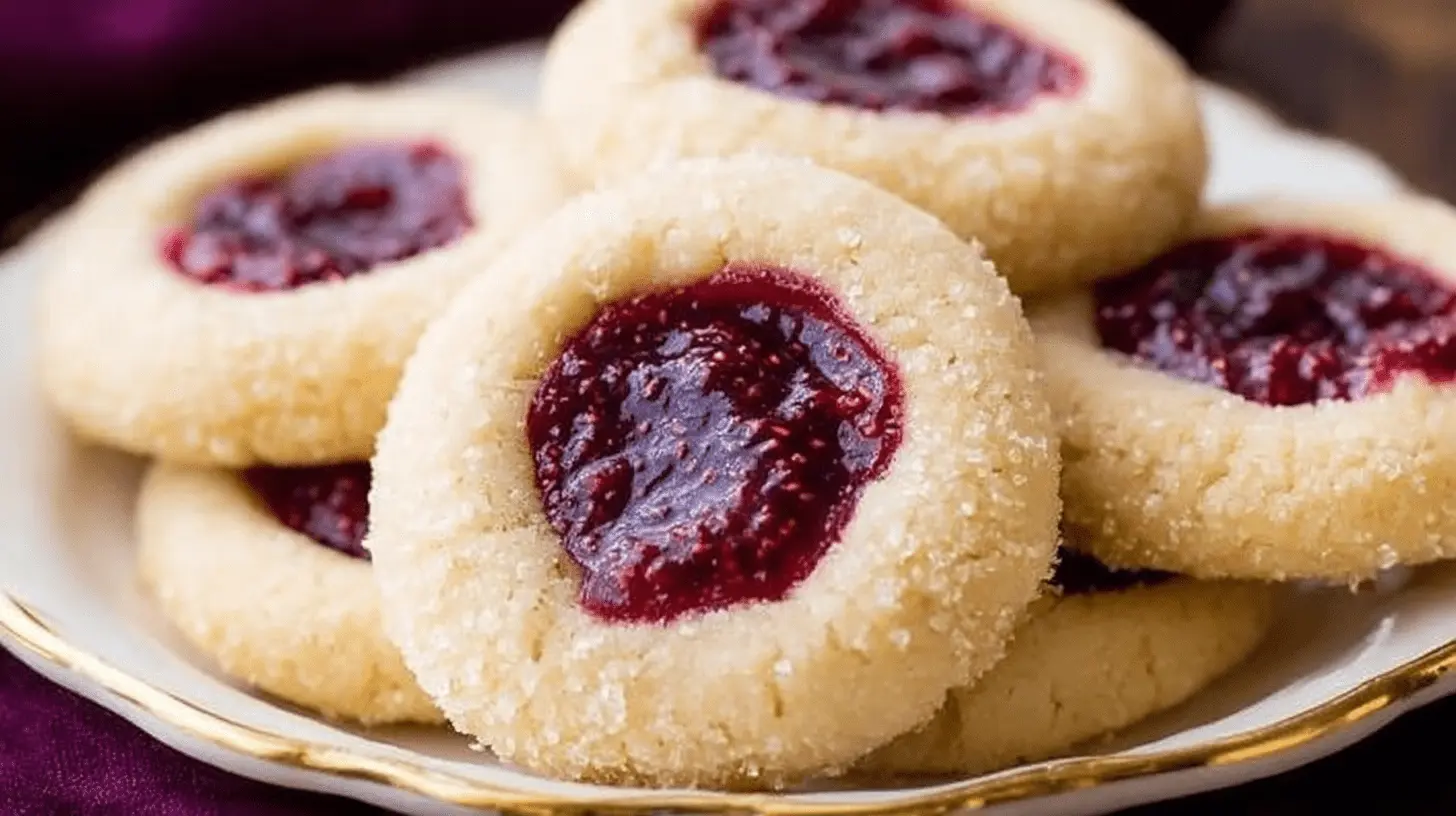
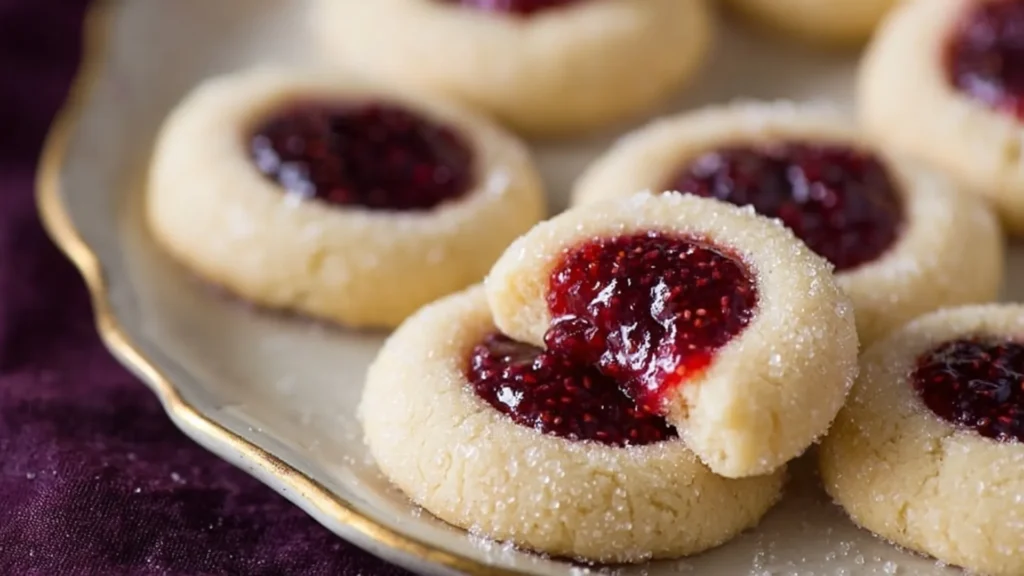
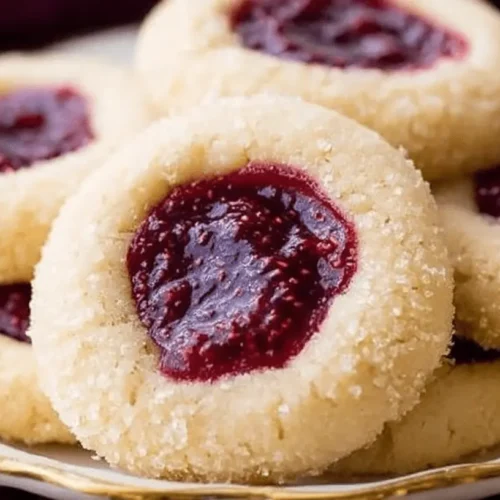
Delight in the sweet nostalgia of these classic jam thumbprint cookies tender, buttery, and filled with a vibrant burst of fruity jam. These bite-sized treats are incredibly simple to make and always a crowd favorite. Whether you’re preparing a holiday tray, gifting homemade sweets, or baking with kids, these cookies bring comfort and charm to any occasion.
Table of Contents
Why You’ll Love These Thumbprint Cookies
- Soft, buttery, melt-in-your-mouth texture every time.
- Sweet, tangy jam center that adds beautiful contrast.
- Beginner-friendly instructions with reliable results.
- Perfect for holidays, parties, or gifting.
- Highly customizable—use your favorite jams, chocolates, or toppings.
Ingredients
Gather these simple ingredients to create your batch of delicious thumbprint cookies.
Wet Ingredients:
- 1 cup unsalted butter, softened to room temperature
- ⅓ cup sugar
- ⅓ cup light brown sugar, tightly packed
- 1 large egg yolk
- ¾ teaspoon vanilla extract
Dry Ingredients:
- 2 ¼ cup all-purpose flour
- 2 teaspoons cornstarch
- ½ teaspoon salt
Fillings & Toppings:
- ½ cup sugar for rolling (optional)
- ⅓ cup jam or preserves (I used raspberry preserves for this recipe)
Notes & Substitutions
- Butter must be softened, not melted, for a smooth dough.
- Use spoon & level method for flour, or weigh for accuracy.
- Cornstarch creates a tender cookie but can be omitted.
- Choose thick, high-quality jams to avoid runny centers.
- Seedless raspberry, strawberry, or apricot work very well.
Instructions
1. Cream the Butter: Place the softened butter into the bowl of a stand mixer (or a large bowl with a hand mixer). Beat until smooth and creamy.
2. Add the Sugars: Scrape down the bowl, add both sugars, and mix. Gradually increase the speed to medium-high and beat for 30–60 seconds, until light and well-combined.
3. Add Egg Yolk & Vanilla: Mix in the egg yolk and vanilla extract until fully incorporated.
4. Whisk Dry Ingredients: In a separate bowl, whisk together the flour, cornstarch, and salt.
5. Combine Wet & Dry:
- With the mixer on low, slowly add the dry ingredients to the butter mixture.
- The dough will look dry and crumbly—this is normal. Pause to scrape the bowl as needed.
- If the dough gets too stiff for the mixer, use your hands to bring it together.
6. Shape the Dough Balls: Scoop out 1 tablespoon of dough and roll it into a smooth, round ball with no visible cracks.
(Smooth dough = fewer cracks in the baked cookies.)
7. Roll in Sugar (Optional): If desired, roll each dough ball in granulated sugar for extra sparkle and sweetness.
8. Press Indents: Place dough balls on a wax-paper–lined tray.
Use your thumb—or the rounded back of a teaspoon—to gently press a small indent into each center.
9. Freeze the Dough: Transfer the shaped cookies to the freezer and chill for 30 minutes.
(This helps them keep their shape while baking.)
10. Prepare Oven & Jam: Preheat oven to 375°F (190°C).
Place the jam in a microwave-safe dish and warm for 5–10 seconds—just until it loosens and becomes easy to stir.
11. Fill the Thumbprints: Spoon the warmed jam into each indent, filling right to the top.
12. Bake:
- Place the cookies 2 inches apart on a parchment-lined baking sheet.
- Bake for 11 minutes, or until the edges turn lightly golden.
13. Cool & Serve: Allow the cookies to cool completely on the baking sheet before lifting or serving.
Pro Tips & Troubleshooting
Achieving perfect thumbprint cookies is easy with these tips.
Prevent Cracking
- Roll dough until completely smooth.
- Press gently when making the indent.
Prevent Spreading
- Chill dough balls thoroughly.
- Start with cool baking sheets.
Best Fillings
- Seedless jam (raspberry, apricot, strawberry)
- Melted chocolate
- Caramel
- Lemon curd after baking
Sticky Dough?
Chill longer or add 1–2 tbsp flour if absolutely needed.
Serving, Storage & Variations
These thumbprint cookies are versatile and easy to store, making them a perfect make-ahead treat.
Serving Suggestions
Serve on a holiday platter, with coffee, tea, or milk. Perfect for gifting.
Storage
- Room temperature: 5–7 days in an airtight container
- Freezer (baked): Up to 3 months
- Freezer (unbaked dough balls): 1 month
Flavor Variations
- Jam: strawberry, blueberry, blackcurrant, apricot
- Chocolate: Nutella, dark chocolate ganache
- Nut coating: roll in crushed pecans or walnuts
- Citrus: lemon or lime curd
Nutrition
Here’s an estimated nutritional breakdown for one of these delicious thumbprint cookies. Please note that these values are approximate and can vary based on specific ingredients and brands used.
| Serving Size | 1 cookie |
|---|---|
| Calories | 165 kcal |
| Carbohydrates | 22 g |
| Protein | 1 g |
| Fat | 8 g |
| Saturated Fat | 5 g |
| Trans Fat | 1 g |
| Cholesterol | 28 mg |
| Sodium | 53 mg |
| Fiber | 1 g |
| Sugar | 12 g |
Disclaimer: Nutritional information is an estimate and may vary based on ingredients used and preparation methods.
FAQ
Can I freeze the dough?
Yes freeze unfilled dough balls for up to 1 month.
Why did my cookies crack?
Cracks happen if the dough isn’t rolled smoothly or indent is pressed too hard.
What jam works best?
Thick, seedless jams like raspberry, apricot, or strawberry.
Conclusion
These classic jam thumbprint cookies are everything you want in a homemade treat—soft, buttery, beautifully filled, and incredibly easy to make. They’re perfect for holidays, celebrations, or anytime you want a sweet, nostalgic bite. If you try this recipe, please leave a comment and a star rating—and feel free to share your favorite jam flavors with us!
Classic Jam Thumbprint Cookies
Equipment
- Stand mixer or hand mixer
- Mixing bowls
- Measuring cups + spoons
- Baking sheets + parchment paper
- Cooling rack
- Cookie scoop Optional
Ingredients
- 1 cup unsalted butter softened to room temperature
- ⅓ cup sugar
- ⅓ cup light brown sugar tightly packed
- 1 large egg yolk
- ¾ teaspoon vanilla extract
- 2 ¼ cup all-purpose flour
- 2 teaspoons cornstarch
- ½ teaspoon salt
- ½ cup sugar for rolling optional
- ⅓ cup jam or preserves I used raspberry preserves for this recipe
Instructions
Preparation
Cream the Butter
- Place the softened butter into the bowl of a stand mixer (or a large bowl with a hand mixer). Beat until smooth and creamy.
Add the Sugars
- Scrape down the bowl, add both sugars, and mix. Gradually increase the speed to medium-high and beat for 30–60 seconds, until light and well-combined.
Add Egg Yolk & Vanilla
- Mix in the egg yolk and vanilla extract until fully incorporated.
Whisk Dry Ingredients
- In a separate bowl, whisk together the flour, cornstarch, and salt.
Combine Wet & Dry
- With the mixer on low, slowly add the dry ingredients to the butter mixture.
- The dough will look dry and crumbly—this is normal. Pause to scrape the bowl as needed.
- If the dough gets too stiff for the mixer, use your hands to bring it together.
Shape the Dough Balls
- Scoop out 1 tablespoon of dough and roll it into a smooth, round ball with no visible cracks.
- (Smooth dough = fewer cracks in the baked cookies.)
Roll in Sugar (Optional)
- If desired, roll each dough ball in granulated sugar for extra sparkle and sweetness.
Press Indents
- Place dough balls on a wax-paper–lined tray.
- Use your thumb—or the rounded back of a teaspoon—to gently press a small indent into each center.
Freeze the Dough
- Transfer the shaped cookies to the freezer and chill for 30 minutes.
- (This helps them keep their shape while baking.)
Prepare Oven & Jam
- Preheat oven to 375°F (190°C).
- Place the jam in a microwave-safe dish and warm for 5–10 seconds—just until it loosens and becomes easy to stir.
Fill the Thumbprints
- Spoon the warmed jam into each indent, filling right to the top.
Bake
- Place the cookies 2 inches apart on a parchment-lined baking sheet.
- Bake for 11 minutes, or until the edges turn lightly golden.
Cool & Serve
- Allow the cookies to cool completely on the baking sheet before lifting or serving.


On these thumbprint cookies can you not use jam, leave the ending and place a chocolate Hersey kiss after cooling.?
Hi Myrna! Yes, that works perfectly 😊 You can skip the jam, bake the cookies with the indentation, and press a Hershey’s Kiss into the center right after baking. Let them cool to set. Thanks for the idea!