

Introduction
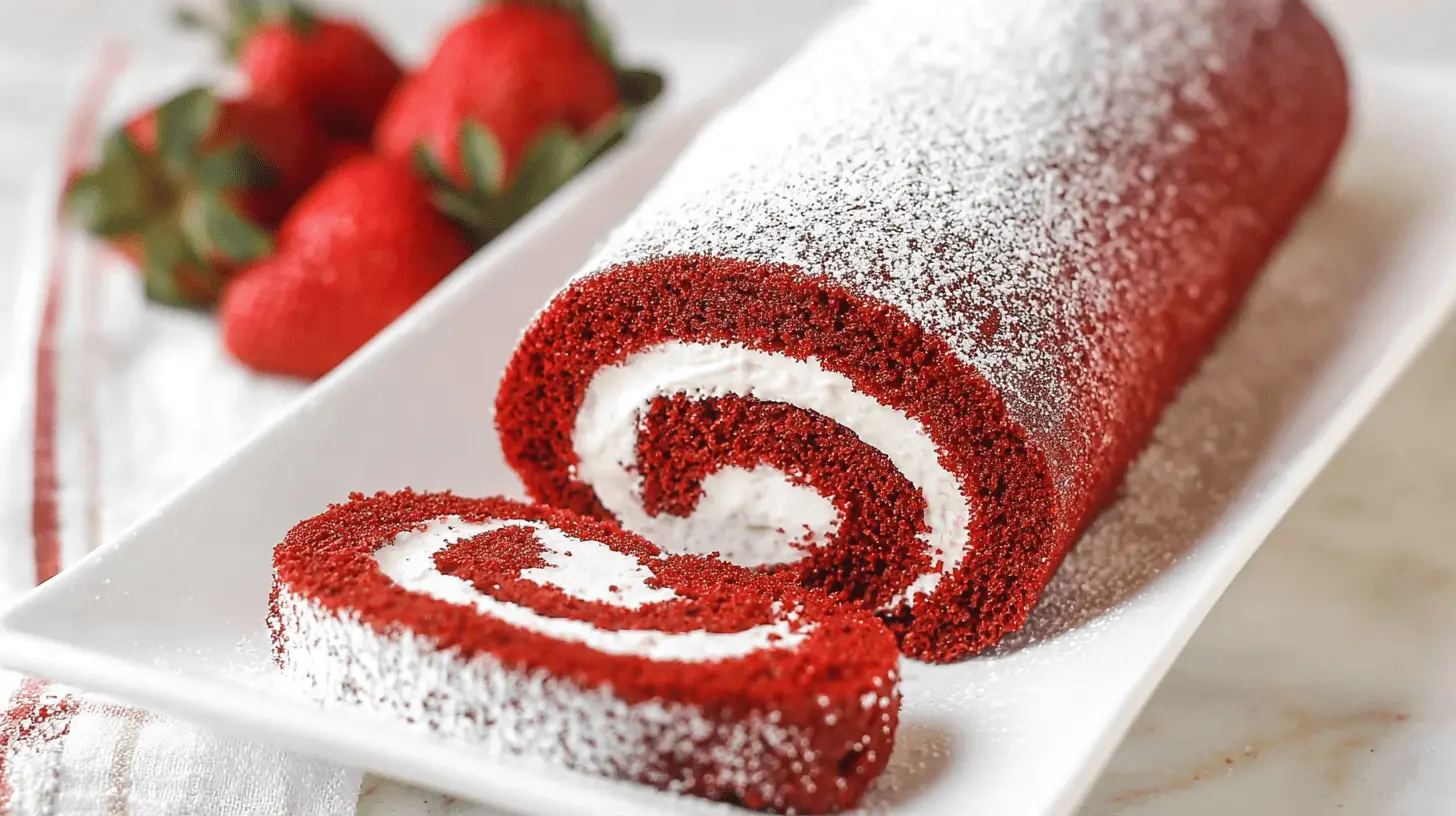
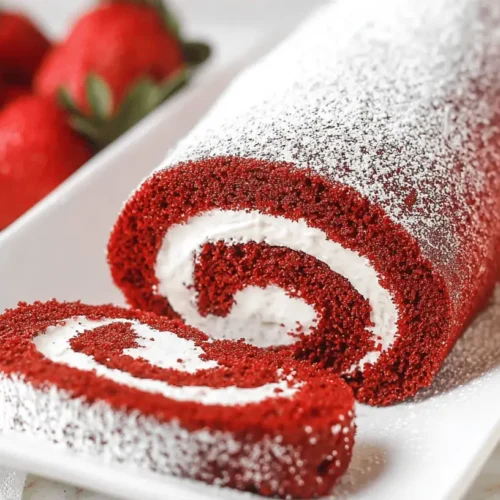
Nothing says festive like a glossy slice of Red Velvet Cake Roll. This elegant, store-ready dessert feels special without the fuss. The sponge stays light and tender, while the cream cheese whipped cream lends a lush, tangy contrast. With a quick bake, a hot roll, and a simple filling, you get a showpiece that feels fancy yet beginner-friendly. Perfect for busy parents, it proves that celebration-worthy baking can happen in minutes.
Table of Contents
Why You’ll Love This Red Velvet Cake Roll
- The tangy red velvet flavor shines through the delicate sponge.
- Ultra-moist velvet cake stays soft and springy when rolled.
- The light, fluffy cream cheese whipped cream melts into every bite.
- The dessert adapts beautifully for holidays, from Valentine’s to Christmas.
- It wears its elegant look with minimal effort, ideal for beginners.
Ingredients
Cake Ingredients
- 1 cup minus 1 tablespoons all-purpose flour (122g, measured accurately)
- 3 tbsp natural unsweetened cocoa powder (21g)
- 1 tsp baking powder
- 1/2 tsp salt
- 4 large eggs divided
- 3/4 cup granulated sugar (155g)
- 5 tbsp buttermilk (75ml)
- 1 tsp white vinegar
- 1/4 cup vegetable oil (60ml)
- 1 tsp vanilla extract (for cake batter)
- 2 tsp red food color
Cream Cheese Filling
- 3/4 cup heavy whipping cream cold (180ml)
- 1/4 cup powdered sugar (29g)
- 3/4 tsp vanilla extract (for filling)
- 4 oz cream cheese room temperature (113g)
Notes & Substitutions
Accurate flour measurement is crucial for the perfect cake, as detailed by Martha Stewart, to prevent dry and dense baked goods.
- Use natural unsweetened cocoa for a richer, red-velvet hue.
Buttermilk and vinegar create gentle acidity that helps the cake rise and stay tender. The Food Science Institute explains how the acidity of buttermilk interacts with leavening agents for a better rise.
- Keep cream cheese at room temperature for a smooth, creamy filling.
- If you don’t have red food color, you can mix a touch of beet juice or use a prepared gel color; avoid too much liquid color that thins batter.
Instructions
Prepare the cake
- Preheat oven to 350°F. Line the jelly roll sheet pan with parchment, ensuring it climbs at least an inch above the sides.
- Whisk flour, cocoa, baking powder, and salt in a medium bowl; set aside.
- In a large bowl, whisk egg yolks, sugar and buttermilk until smooth. Add vinegar, oil, vanilla, and red coloring; whisk until well combined.
- Fold the dry ingredients into the wet mixture just until blended. Set aside.
- In a clean large bowl, whip egg whites to stiff peaks. Fold about one third of the whites into the batter to loosen, then gently fold in the rest until integrated.
- Spread batter evenly in the prepared pan. Bake 10–12 minutes, or until the top springs back and a toothpick is clean.
Initial rolling (hot)
- Immediately lift the cake from the pan using the parchment and place on a clean surface.
- Starting at the short end, roll the hot cake in the parchment or a clean towel dusted with sugar. Let it cool completely in the rolled shape. For best results, unroll and re-roll during cooling at intervals to keep elasticity; total cooling time is about an hour to an hour and a half.
Make the filling
- In a mixer, whip cold heavy cream, powdered sugar, and vanilla to soft peaks.
- Beat softened cream cheese until smooth, then fold into the whipped cream until fully combined and fluffy but not runny.
Assemble the roll
- Unroll the cooled cake carefully, loosening any cling from the parchment. Spread filling evenly, leaving a border.
- Re-roll the cake without the parchment, using the filling to help shape. Some filling may squeeze out—scrape it away with a spatula.
Chill and serve
- Wrap the roll tightly in plastic wrap with the seam side down and chill at least 1 hour to firm up.
- When ready to serve, unwrap, slice, and dust the top with a light shower of powdered sugar.
Pro Tips & Troubleshooting
- Prevent cracks by rolling while the cake is hot and again during cooling to teach elasticity.
- Don’t overmix to keep the crumb tender; mix just until combined.
- Ensure cold cream and room-temperature cream cheese for perfect folding; avoid overbeating the filling.
- To slice cleanly, use a warm, sharp knife and wipe between cuts.
Serving, Storage & Variations
- Serving: garnish with fresh berries or chocolate shavings; pair with coffee or hot cocoa.
- Storage: refrigerate tightly wrapped for 3–4 days. Freeze unassembled or assembled up to 3 months; thaw in the fridge overnight.
- Variations: swap the filling for chocolate ganache or plain whipped cream; try a mint or citrus twist for different holidays or seasons.
Nutrition
| Nutrient | Amount per serving |
|---|---|
| Calories | 273 |
| Total Fat | 15.1 g |
| Saturated Fat | 9.7 g |
| Cholesterol | 96.9 mg |
| Sodium | 192.5 mg |
| Carbohydrates | 30.4 g |
| Sugar | 19.2 g |
| Protein | 5.3 g |
| Fiber | 1 g |
Disclaimer: Nutrition information is an estimate and will vary with brands and sizes.
FAQ
Can I make this cake roll ahead of time?
Yes. Bake the cake, roll it while warm, and chill. Fill just before serving for best texture.
Why did my cake roll crack?
Cracks usually come from rolling too late or overbaking. Roll when hot and re-roll during cooling to relax the crumb, and avoid overbaking for a tender texture.
Can I use regular milk instead of buttermilk?
You can, but buttermilk helps tenderness and rise. If you must, use 1 tablespoon fresh lemon juice or vinegar mixed with milk to make a quick buttermilk substitute.
Conclusion
The Red Velvet Cake Roll combines drama with ease, giving you a stunning dessert that beginners can master. With a velvet sponge, a creamy filling, and a graceful roll, it feels special without demanding hours in the kitchen. Give this recipe a try, and enjoy a festive treat that looks as good as it tastes. Share your results and celebrate the sweet art of simple baking.
Red Velvet Cake Roll
Equipment
- Oven
- Jelly roll sheet pan (17×12-inch)
- Parchment paper
- Medium bowl
- Large bowl
- Large mixer bowl
- Whisk
- Spatula
- Toothpick
- Plastic wrap
- Serving platter
- Offset spatula (optional)
Ingredients
Cake Ingredients
- 1 cup minus 1 tablespoons all-purpose flour (122g, measured accurately)
- 3 tbsp natural unsweetened cocoa powder (21g)
- 1 tsp baking powder
- 1/2 tsp salt
- 4 large eggs divided
- 3/4 cup granulated sugar (155g)
- 5 tbsp buttermilk (75ml)
- 1 tsp white vinegar
- 1/4 cup vegetable oil (60ml)
- 1 tsp vanilla extract (for cake batter)
- 2 tsp red food color
Cream Cheese Filling
- 3/4 cup heavy whipping cream cold (180ml)
- 1/4 cup powdered sugar (29g)
- 3/4 tsp vanilla extract (for filling)
- 4 oz cream cheese room temperature (113g)
Instructions
Cake Preparation
- Preheat oven to 350°F and line a 17×12-inch jelly roll sheet pan with parchment paper, ensuring it extends at least an inch above the pan sides.
- Whisk together flour, cocoa, baking powder, and salt in a medium bowl, then set aside.
- In a large bowl, whisk egg yolks, granulated sugar, and buttermilk until combined; then add vinegar, vegetable oil, vanilla extract, and red food color, whisking again.
- Gently whisk the dry ingredient mixture into the wet ingredients until just combined, then set aside.
- Whip the egg whites in a large mixer bowl on high speed until stiff peaks form.
- Carefully fold about one-third of the whipped egg whites into the chocolate batter to lighten it.
- Add the remaining egg whites and gently fold until the batter is well combined.
- Spread the cake batter evenly into the prepared pan and bake for 10-12 minutes, or until a toothpick inserted comes out clean.
Rolling and Cooling the Cake
- Immediately lift the hot cake out of the pan using the parchment paper and place it on a counter.
- While the cake is hot, slowly roll it up from the shorter end using the parchment paper; allow it to cool completely, unrolling and re-rolling a few times during cooling to help prevent cracking.
Cream Cheese Filling Preparation
- Once the cake is cool, prepare the whipped cream filling by whipping heavy cream, powdered sugar, and vanilla extract in a large mixer bowl until the cream begins to thicken.
- Stir the cream cheese until creamy, then add it to the whipped cream and whip on low speed until stiff peaks form quickly.
Assembling and Serving
- Very carefully unroll the cooled cake, using an offset spatula or similar tool to release any areas sticking to the parchment paper.
- Spread the whipped cream filling evenly onto the unrolled cake, leaving a small border around the edges.
- Roll the cake back up without the parchment paper; use a spatula to remove any filling that squeezes out.
- Wrap the cake roll in plastic wrap with the seam side down and refrigerate for at least an hour to firm up.
- When ready to serve, remove from plastic wrap, place on a serving platter, and dust the top with additional powdered sugar.
- Store any leftovers covered in the fridge for up to 3-4 days.


