

Introduction
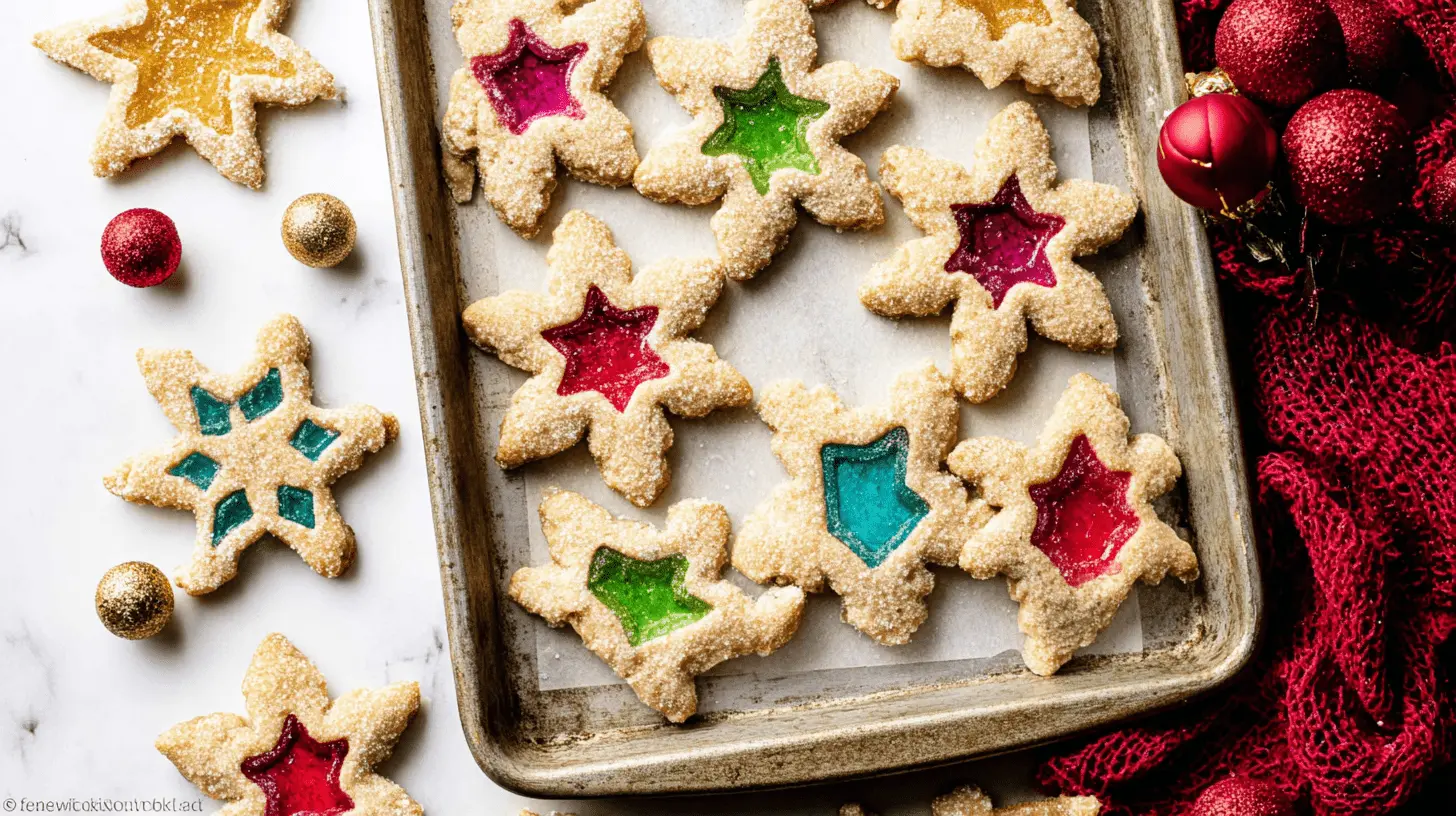
Stunning, festive cookies that charm both eyes and taste buds. The magic lies in sugar cookies with melted candy centers, creating colorful “stained glass” panes.
The concept of using melted hard candy to create a “stained glass” effect in cookies is a creative baking technique that adds visual appeal to holiday treats.
This method is wonderfully easy, impressive for guests, and requires no complex icing or piping. Perfect for holiday gatherings, school parties, or any special occasion when you want a showstopping dessert with minimal fuss. Let’s bake a batch that looks like a party and tastes like a dream.
Why You’ll Love These stained glass window cookies
- Delightful texture contrast: crisp edges with a softly chewy center.
- Sweet vanilla butter flavor that pairs with any candy color.
- Easy to assemble, no intricate royal icing or decorating skills needed.
- Manageable prep and bake times fit busy schedules.
- Visual appeal is instant with candy-filled centers, requiring no extra decorating.
Ingredients + Notes/Substitutions
- 2 and 1/4 cups (281 g) all-purpose flour (spooned & leveled), plus more as needed for rolling and work surface
- 1/2 teaspoon baking powder
- 1/4 teaspoon salt
- 3/4 cup (170 g) unsalted butter, softened to room temperature
- 3/4 cup (150 g) granulated sugar
- 1 large egg, at room temperature
- 2 teaspoons pure vanilla extract
- 15-20 unwrapped hard candies (Jolly Ranchers or Life Savers work well)
- 1 large egg white OR 2 Tablespoons (30 ml) water
- 1/3 cup (65 g) coarse sugar or sprinkles
Optional Topping
- Egg white or water for brushing
- Coarse sugar or sprinkles for sparkle
Notes and substitutions:
- If you don’t have parchment or silicone mats, lightly flour your surface and rolling pin. The dough is forgiving and you can re-roll scraps.
- You can swap vanilla for almond extract for a nutty twist, but keep the vanilla version for classic stained glass window cookies.
- For a softer center, use slightly smaller candy chunks; larger pieces can stretch the dough more.
Instructions
This stained glass window cookies method keeps icing out of the picture, letting the candy do the decorating.
- Whisk flour, baking powder, and salt in a medium bowl. Set aside.
- In a large bowl, beat butter and granulated sugar on high until smooth and creamy, about 3 minutes. Add egg and vanilla; beat on high until combined, about 1 minute. Scrape sides as needed.
- Add dry ingredients to wet ingredients; mix on low until just combined. The dough will be a bit soft. If too sticky, add a little extra flour, 1 tablespoon at a time.
- Divide dough into two equal portions. Place each on lightly floured parchment or a floured silicone mat. Roll to about 1/4-inch thickness (or slightly thinner).
- Lightly dust one dough sheet with flour. Place parchment on top, then the second rolled dough. Cover with plastic wrap or foil and refrigerate for at least 1–2 hours, up to 2 days.
- While dough chills, crush the candies. Separate by color into bags and crush with a rolling pin or mallet into pebble-sized bits. Don’t pulverize into powder. This step can be a little messy.
- Preheat oven to 350°F (177°C). Line 2–3 baking sheets with parchment or silicone mats.
- Remove the top dough sheet from the fridge. If sticky, rub a clean hand under it to help release. Use a large cookie cutter to cut shapes; use a smaller cutter to cut out the centers. Re-roll scraps and repeat with the second dough piece.
- Arrange cookies on sheets, about 3 inches apart. For intricate shapes, transfer with two hands to avoid distortion.
- Optional topping: beat egg white lightly and brush onto the tops. Sprinkle coarse sugar or sprinkles if desired.
- Fill centers with crushed candies, about 3/4 full. One color per cookie makes a clean look, though mixing colors is fine for a playful effect.
- Bake 12–13 minutes, until candy centers melt and cookies are lightly browned around the edges. Cool on sheets until centers set, then transfer to a rack to cool completely.
Pro Tips & Troubleshooting
- Chilling dough is essential to prevent spreading and to keep candy centers in place.
- For candy, crush colors separately to avoid mixing colors unintentionally.
- Fill centers about 3/4 full; candy expands as it melts.
- Work quickly with dough while it stays firm; resting in the fridge helps.
- Use parchment or silicone mats to prevent sticking and for easy removal.
- If candy bubbles or spreads, rotate the sheet halfway through bake time.
Serving, Storage, and Variations
- Serve at parties, as gifts, or for holiday dessert tables.
- Store at room temperature in an airtight container for up to 1 week.
- Freeze baked cookies up to 3 months, or freeze unbaked dough for up to 1 month.
- Freeze dough: wrap tightly, then chill; bake from frozen, adding a couple of minutes.
Variations:
- Try gingerbread or chocolate sugar cookie dough for a seasonal twist.
- Use different hard candy flavors or colors for a rainbow effect.
- Experiment with varied cookie cutter themes like hearts or stars.
Nutrition Information
| Nutrient | Per Cookie (approx.) |
|---|---|
| Calories | 130 kcal |
| Fat | 7 g |
| Carbs | 18 g |
| Protein | 2 g |
FAQ
Why do my stained glass centers bubble?
Bubble formation usually comes from moisture in candy or over-mixing the dough. Make sure candy is dry and crumbs are not clinging to the candy pieces. Bake on a preheated sheet and rotate halfway if you notice hot spots.
Can I use soft candies instead of hard candies?
Soft candies can be used but they melt more quickly and may spread. Hard candies hold their shape better and create that classic stained glass look.
How do I prevent the candy from sticking?
Use parchment or silicone mats and lightly oil or flour the rolling surface. Ensure centers are filled with dry candy pieces and avoid over-filling.
Conclusion
These stained glass window cookies blend festive flair with simple technique, turning candy into living color inside crisp vanilla cookies. They’re impressive without being complicated, ideal for busy parents and baking beginners alike. Give them a try, snap a photo, and share your results—your kitchen will feel like a holiday workshop. If you loved them, leave a review and inspire others to recreate the magic.

Stained Glass Window Cookies: A Festive Holiday Treat
Equipment
- Medium bowl
- Large bowl
- Handheld or stand mixer with paddle attachment
- Rolling Pin
- Plastic bags (or paper bags)
- Large cookie cutter
- Small cookie cutter
- 2-3 large baking sheets
- Parchment paper or silicone baking mats
- Fork or small whisk (optional)
- wire rack
Ingredients
Dry Ingredients
- 2 and 1/4 cups (281g) all-purpose flour plus more as needed for rolling and work surface
- 1/2 teaspoon baking powder
- 1/4 teaspoon salt
Wet Ingredients
- 3/4 cup (12 Tbsp; 170g) unsalted butter softened to room temperature
- 3/4 cup (150g) granulated sugar
- 1 large egg at room temperature
- 2 teaspoons pure vanilla extract
Candies & Topping
- 15-20 unwrapped hard candies such as Jolly Ranchers or Life Savers
- 1 large egg white OR 2 Tablespoons (30ml) large egg white OR water
- 1/3 cup (65g) coarse sugar or sprinkles
Instructions
Preparation
- Whisk together flour, baking powder, and salt in a medium bowl, then set aside.
- In a large bowl, beat softened butter and granulated sugar until creamy; then add egg and vanilla extract and beat until combined, scraping the bowl as needed.
- Gradually add the dry ingredients to the wet and mix on low until a soft dough forms; add an extra tablespoon of flour if too sticky.
- Divide the dough into two equal portions, roll each out to about 1/4-inch thickness between parchment paper, stack them, cover, and refrigerate for 1-2 hours.
- While the dough chills, separate hard candies by color, place them in plastic bags, and crush into pebble-sized bits using a rolling pin or meat mallet.
Baking
- Once dough is chilled, preheat oven to 350°F (177°C) and line 2-3 large baking sheets with parchment paper or silicone mats.
- Remove one chilled dough piece, cut large shapes with a cookie cutter, then use a smaller cutter to remove the center, and re-roll any scraps; repeat with the second dough piece.
- Carefully arrange the cut cookies on the prepared baking sheets, ensuring they are about 3 inches apart.
- If using, lightly beat an egg white and brush it or water onto the cookie tops, then sprinkle with coarse sugar or sprinkles.
- Fill the cut-out centers of each cookie about 3/4 full with the crushed candies, using one color per cookie or mixing for a multicolored effect.
- Bake for 12-13 minutes until candies are melted and edges are lightly browned; let cool on the baking sheet for 15 minutes until candy sets, then transfer to a wire rack to cool completely.
Storage
- Cover and store cookies at room temperature for up to 1 week, or refrigerate for up to 10 days for longer storage.


