

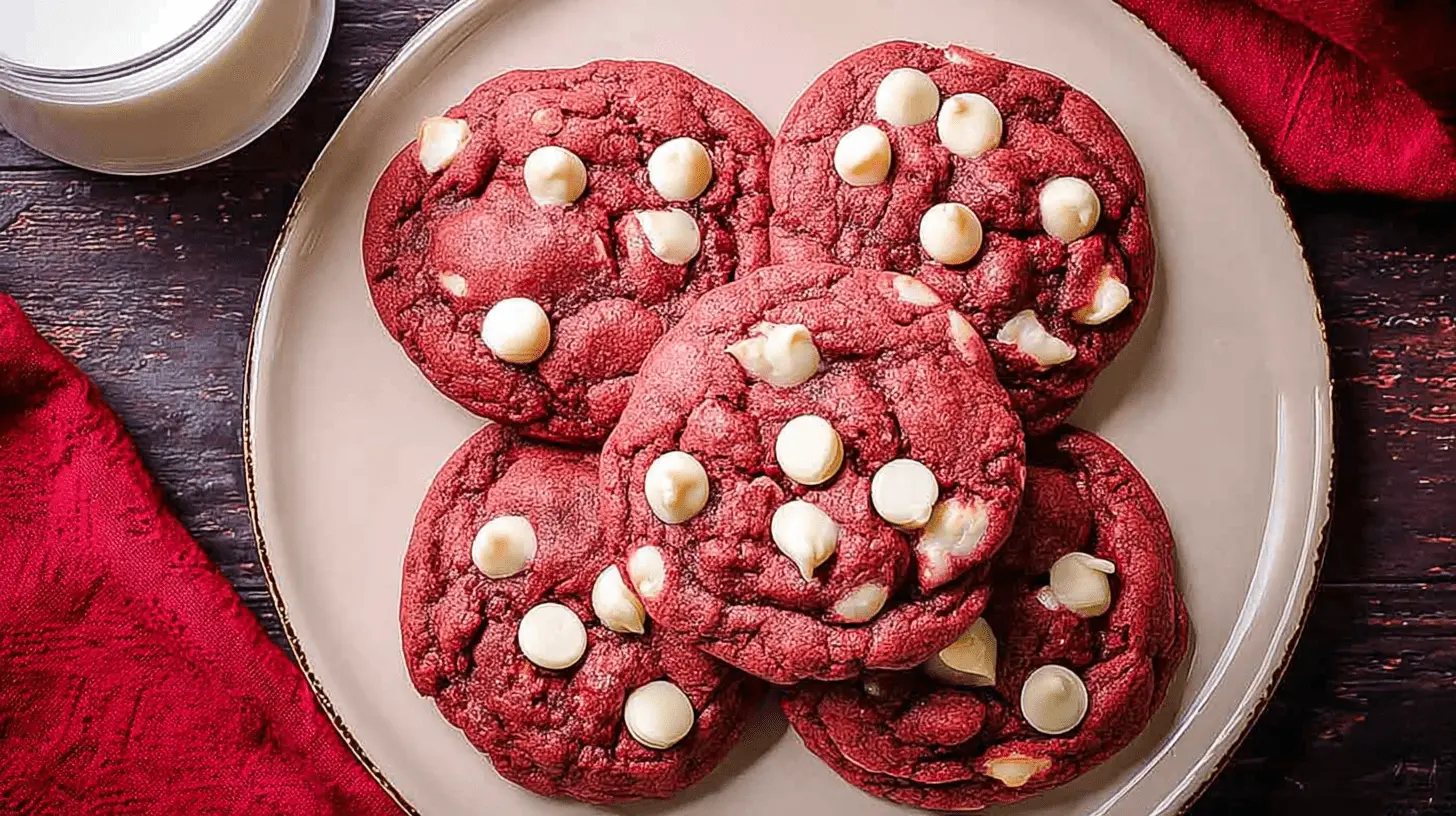
Prepare to fall in love with these vibrant red velvet cookies! This recipe transforms the classic cake flavor into a soft, chewy cookie, bursting with chocolatey goodness. The stunning crimson color and tender texture make these treats irresistible. Best of all, they’re surprisingly simple to bake, bringing bakery-quality cookies right to your home kitchen.
Table of Contents
Why You’ll Love This Recipe
You’ll adore making and eating these delightful red velvet cookies. They are truly a perfect bake for any occasion.
- Quick and Easy Dessert: Whip up these beautiful cookies without spending hours in the kitchen.
- Classic Red Velvet Cake Flavor: Enjoy the iconic tangy, chocolatey taste in a convenient cookie form.
- Beautiful Festive Appearance: The vibrant red hue makes these cookies perfect for holidays or celebrations.
- Perfect Soft, Chewy Texture: Each bite offers a delightful balance of chewiness and tenderness.
- Great for Holidays or Everyday: These treats fit any occasion, from special events to simple snacks.
- Make Ahead or Freeze for Later: Prepare the dough in advance or freeze baked cookies for future enjoyment.
Ingredients
Gather these simple ingredients to create your batch of amazing red velvet cookies:
- ¾ cup (170g) unsalted butter, at room temperature
- 4 ounces (115g) cream cheese, at room temperature
- 1 cup (200g) white sugar
- 1 cup (220g) packed dark brown sugar
- 1 teaspoon baking soda
- 1 teaspoon kosher salt
- 2 teaspoons vanilla extract
- 1 large egg
- 1 large egg yolk
- 1 tablespoon red food coloring, preferably McCormick brand
- 2 ¾ cups (385g) all-purpose flour
- ¼ cup (25g) natural cocoa powder (not Dutch process)
- 2 cups (340g) white chocolate baking chips, divided
Notes & Substitutions
Cream cheese is key for the unique texture and slight tang in these cookies, mimicking traditional red velvet cake. Culinary experts often highlight the role of cream cheese in providing a distinct flavor and moisture to red velvet desserts. Always use full-fat block cream cheese, not whipped or spreadable versions, as they contain too much water. For the white chocolate chips, opt for high-quality baking chips made with cocoa butter for the best flavor and melt. If you prefer, substitute with milk chocolate, dark chocolate, or even chopped nuts. The red food coloring dictates the vibrancy; gel food coloring typically provides a deeper, richer red than liquid varieties.
Equipment
You won’t need many specialized tools for these delicious red velvet cookies.
- Stand mixer with paddle attachment or electric hand mixer
- Two large baking sheets
- Parchment paper or silicone baking mats
- Rubber spatula
- Wire cooling rack
Instructions
Let’s get baking these fantastic red velvet cookies! Follow these easy steps for perfect results.
Step 1: Prep Oven & Pans
Preheat your oven to 350°F (175°C). Line two large baking sheets with parchment paper or silicone baking mats. This prevents sticking and ensures even baking for your vibrant cookies.
Step 2: Cream Wet Ingredients
In the bowl of a stand mixer (or using a hand mixer), combine the room temperature butter, cream cheese, white sugar, dark brown sugar, baking soda, salt, and vanilla extract. Mix on medium speed for 1 to 2 minutes. The mixture should become creamy, uniform in color, and cling slightly to the sides of the bowl.
Step 3: Add Eggs & Color
Scrape down the sides of the bowl with a spatula. Add the large egg and mix on medium speed until fully incorporated. Repeat with the egg yolk. Then, add the red food coloring. Mix on slow speed to avoid splattering the intense red color around your kitchen.
Step 4: Combine Dry & Wet
Add the all-purpose flour and natural cocoa powder to the wet ingredients in the mixer. Mix on low speed just until the dry ingredients are absorbed and no streaks of flour remain. Be careful not to overmix the dough at this stage.
Step 5: Fold in Chips
Measure out 2 cups of white chocolate baking chips. Add 1 ½ cups of these chips to the cookie dough, reserving the remaining ½ cup for topping the cookies later. Slowly mix them into the dough until the chips are evenly distributed throughout.
Step 6: Form Cookie Dough Balls
Slightly wet your hands with water and lightly dry them with a paper towel. This helps prevent the dough from sticking. Roll the dough into 1-inch balls (about a heaping tablespoon each). Place the cookie dough balls about 2 inches apart on your prepared baking sheets.
Step 7: Bake
Bake one baking sheet at a time for 11 to 13 minutes. The edges of the cookies should look dry and set, and the centers will appear a bit puffy. You might notice them still looking slightly soft in the middle. Rotate the baking sheet halfway through baking if your oven bakes unevenly.
Step 8: Finish & Cool
As soon as you remove the cookies from the oven, while they are still hot and puffy, press several of the reserved white chocolate chips onto the top of each cookie. Let the cookies cool on the baking sheet for 5 minutes. They will deflate and flatten slightly during this time. Then, transfer the warm cookies to a wire cooling rack to cool completely. Repeat with any remaining dough.
Pro Tips & Troubleshooting
Achieving perfect red velvet cookies is simple with a few extra pointers. Always start with room temperature ingredients like butter and cream cheese for a smooth, cohesive dough. Avoid overmixing the dough once you add the flour; mixing too much develops gluten, leading to tougher cookies. If your cookies spread too much, try chilling the dough for at least 30 minutes before baking. This helps the fat solidify, preventing excessive spreading. Look for set edges and slightly puffed centers as signs of doneness, even if the middle seems soft. For the most vibrant red color, use a high-quality gel food coloring.
Serving, Storage, & Variations
These homemade red velvet cookies are delightful served warm, allowing the chocolate chips to be wonderfully gooey. They are equally delicious once completely cooled. Store baked cookies in an airtight container at room temperature for up to 3 days, or in the refrigerator for up to 5 days, if your home is very warm.
To freeze raw dough balls: Roll the dough as instructed, then flash freeze them on a baking sheet until solid. Transfer the frozen balls to a freezer-safe bag or container for up to 3 months. Bake from frozen, adding a couple of extra minutes to the baking time.
To freeze baked cookies: Allow cookies to cool completely. Store them in an airtight, freezer-safe container with parchment paper between layers for up to 2 months. Thaw at room temperature.
For variations, swap white chocolate chips for dark chocolate chunks, milk chocolate chips, or even chopped pecans or walnuts for an added crunch. A drizzle of cream cheese frosting also makes these red velvet cookies extra special.
Nutrition
Here are the estimated nutritional values for a serving of these delightful red velvet cookies, based on approximately 36 cookies per batch.
| Nutrient | Value |
|---|---|
| Calories | 189 kcal |
| Carbohydrate | 26 g |
| Cholesterol | 31 mg |
| Protein | 2 g |
| Sodium | 95 mg |
| Fat | 9 g |
| Serving Size | 1 cookie |
FAQ
Can I use natural food coloring?
Yes, you can use natural food coloring, but be aware that the red color might not be as vibrant or intense as with artificial colors. You might need to add more.
How long do red velvet cookies last?
These cookies stay fresh for about 3 days at room temperature in an airtight container, or up to 5 days if stored in the refrigerator. Their texture is best enjoyed within a few days.
Can I freeze the cookie dough?
Absolutely! You can freeze rolled cookie dough balls for up to 3 months. Bake them directly from frozen, adding a few extra minutes to the bake time.
Conclusion
You’ve just made a batch of spectacular red velvet cookies! These soft, chewy, and vibrantly colored treats are sure to impress everyone. Baking them is a fun and easy process, perfect for beginners and busy parents alike. Enjoy the classic red velvet flavor in a delightful cookie form. We’d love to hear how your cookies turned out, so please leave a comment and a star rating below!
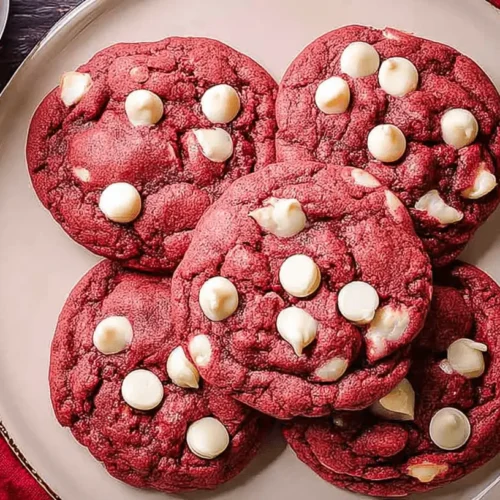
Delicious Red Velvet Cookies with White Chocolate Chips
Equipment
- Baking sheets
- Silicon baking mat
- Parchment paper
- Stand mixer
- Paddle Attachment
- Spatula
- Wire cooling rack
Ingredients
Cookie Dough
- 3/4 cup unsalted butter at room temperature
- 4 ounces cream cheese at room temperature
- 1 cup white sugar
- 1 cup packed dark brown sugar
- 1 teaspoon baking soda
- 1 teaspoon kosher salt
- 2 teaspoons vanilla extract
- 1 large egg
- 1 large egg yolk
- 1 tablespoon red food coloring preferably McCormick brand
- 2 3/4 cups all-purpose flour
- 1/4 cup natural cocoa powder not Dutch process
- 2 cups white chocolate baking chips divided
Instructions
Preparation
- Line two baking sheets with a silicon baking mat or parchment paper.
Mixing the Dough
- In a stand mixer, combine butter, cream cheese, both sugars, baking soda, salt, and vanilla extract; mix on medium speed for 1-2 minutes until creamy and uniform.
- Scrape the bowl, add the egg and mix, then repeat with the egg yolk. Incorporate the red food coloring slowly to avoid splattering.
- Gradually add the all-purpose flour and natural cocoa powder, mixing on low speed until just absorbed into the wet ingredients.
Adding Chips & Shaping
- Add 1 1/2 cups of white chocolate chips to the dough, reserving 1/2 cup for topping, and mix until evenly distributed.
- Wet your hands slightly, then roll the dough into 1-inch balls and place them on the prepared baking sheets.
Baking & Cooling
- Bake one sheet at a time for 11 to 13 minutes, until the cookie edges are dry and set and cookies appear puffy.
- While cookies are still warm, press the reserved white chips into their tops. Let them cool on the baking sheet for 5 minutes before transferring to a wire rack.


