

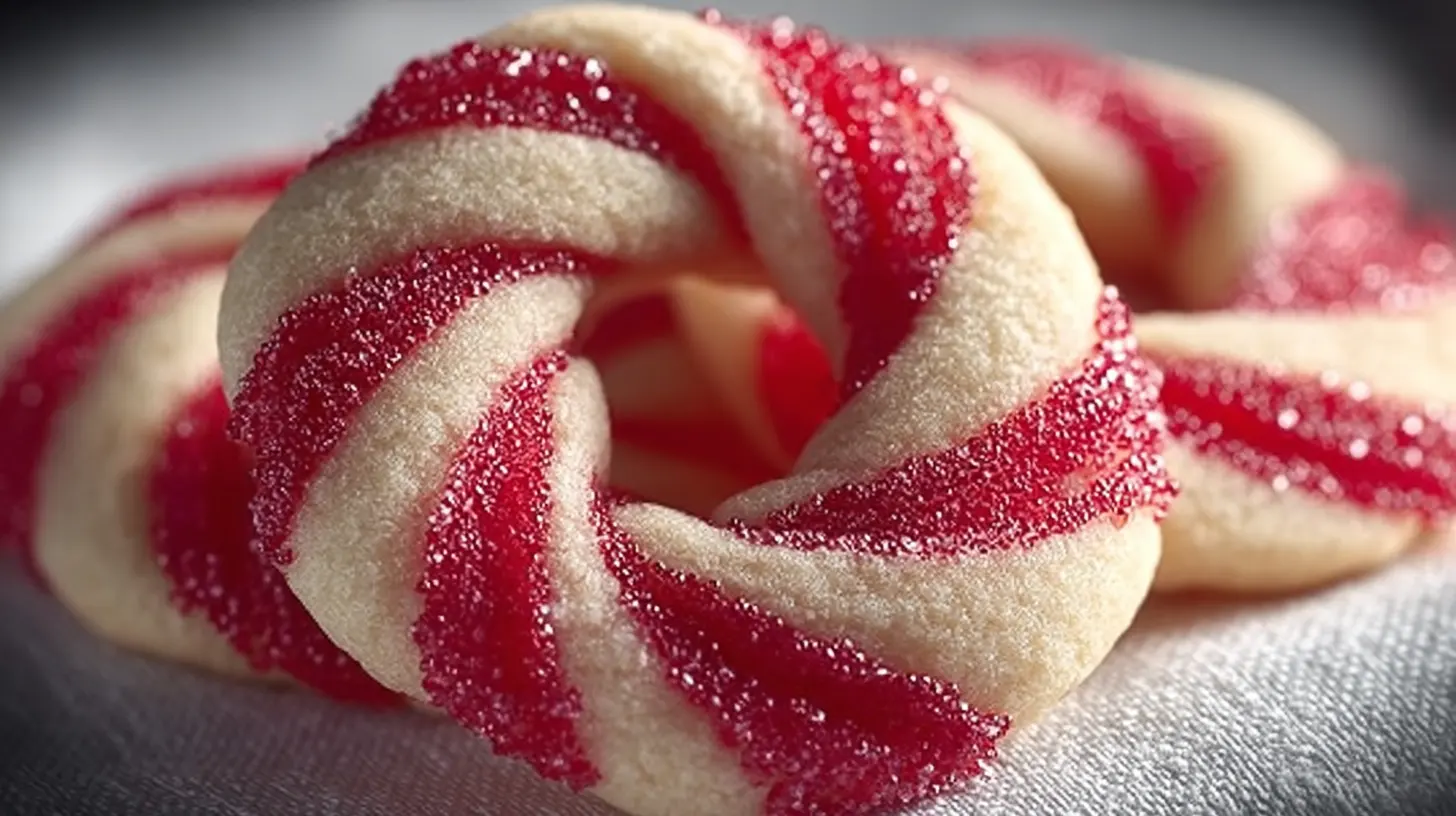
As the holiday season draws near, the scent of fresh-baked cookies fills our homes with warmth and cheer. There’s something truly special about classic candy cane cookies, a timeless treat that perfectly captures the festive spirit. These delightful cookies are not only a feast for the eyes with their signature red and white swirl, but they also deliver a refreshing burst of peppermint flavor. Best of all, they’re surprisingly simple to make, even for beginner bakers.
Table of Contents
According to historical accounts, the tradition of candy canes dates back to 1670 in Cologne, Germany, where a choirmaster used sugar sticks to quiet children during Christmas Eve services. Learn more about the interesting origins of candy canes.
Why You’ll Love These Candy Cane Cookies
These festive candy cane cookies are a must-bake for your holiday season. Here’s why they’ll become a new family favorite:
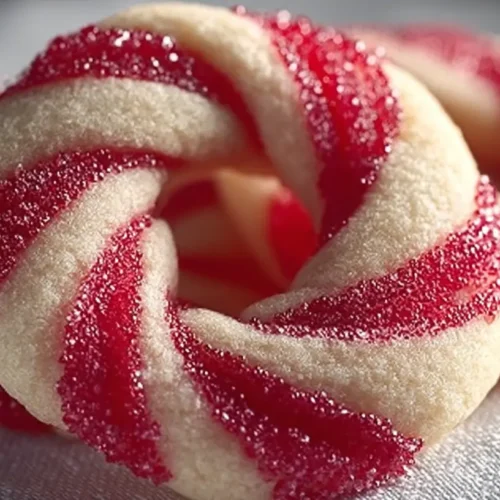
- Visually Stunning: Their iconic red and white swirl and charming candy cane shape make them a beautiful addition to any holiday table or cookie platter. They instantly elevate your festive spread.
- Perfect Festive Treat: The classic peppermint flavor and vibrant colors embody the joy and magic of the holidays. These cookies bring a taste of Christmas to every bite.
- Simple Dough, Easy Shaping: The dough comes together quickly, and the shaping process is fun and straightforward. It’s a great activity for bakers of all skill levels, including kids.
- Delicious Peppermint Flavor: A hint of refreshing peppermint extract gives these cookies their distinctive taste. It’s a delightful contrast to the buttery shortbread texture.
- Great for Gifting: Package these gorgeous candy cane cookies in festive tins or bags for a homemade gift. They are always a welcome present during the holidays.
- Make-Ahead Friendly: You can prepare the dough in advance or freeze baked cookies, making holiday baking less stressful. This flexibility is a huge time-saver.
Ingredients
Gathering your ingredients for these delightful candy cane cookies is the first step towards holiday baking bliss.
- 2 sticks (227g) unsalted butter, at room temperature
- 1 cup (200g) sugar
- 1 1/2 teaspoons peppermint extract
- 1 teaspoon vanilla extract
- 1 teaspoon baking powder
- 1/2 teaspoon kosher salt
- 1 large egg
- 2 3/4 cup (385g) all-purpose flour
- 1 teaspoon liquid red food coloring
- 1 egg white
- 2 tablespoons sparkling sugar
Notes & Substitutions
Achieving perfect candy cane cookies involves a few helpful tips. Ensure your butter is truly at room temperature for the creamiest dough; it should be soft enough to indent, but not melted. If you’re out of peppermint extract, you can use a combination of almond extract and a tiny pinch of cinnamon for a different but equally festive flavor profile. For the most vibrant red color, opt for gel food coloring over liquid. Gel colors are more concentrated and won’t thin your dough. Feel free to experiment with different sparkling sugars or even use crushed candy canes as a topping after baking.
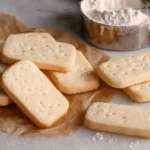
As a type of shortbread, these cookies are characterized by their high butter content, a tradition that dates back to medieval “biscuit bread.” Discover the rich history of shortbread cookies.
Instructions
Preparation
- Combine butter, sugar, peppermint, vanilla, baking powder, and salt in a stand mixer; beat until a paste forms and clings to the bowl.
- Scrape the bowl, beat in the egg until absorbed, then add flour and mix until just combined with no dry streaks.
- Divide the dough in half, remove one half, and mix red food coloring into the remaining dough until evenly colored.
- Form each dough half into a disk, wrap in plastic, and refrigerate for at least 3 hours or overnight.
Shaping & Baking
- Line a baking sheet with parchment paper or a silicone baking mat.
- Ensure the chilled dough is firm yet malleable; if too stiff, let it warm slightly, but avoid making it too soft.
- Roll a 1-inch piece of white dough into a 5-inch rope, and repeat with red dough, ensuring both ropes are the same length.
- Twist the red and white ropes together, transfer to the baking sheet, and shape into a candy cane.
- Continue shaping the remaining dough into candy canes, spacing them 2 inches apart on the baking sheet.
- Whisk egg white with water for a wash, then brush it onto each cookie and sprinkle with sparkling sugar.
- Bake for 8-10 minutes until edges are light brown, cool on the baking sheet for 10 minutes, then transfer to a wire rack.
Pro Tips & Troubleshooting
Ensuring perfect candy cane cookies every time is easy with a few simple tricks.
- Prevent Spreading: Always chill your dough thoroughly before shaping. If your kitchen is warm, chill the shaped cookies again for 15 minutes before baking. Use cool baking sheets; never place dough on a hot sheet.
- Dough Too Dry/Crumbly: If your dough feels too dry to work with, add tiny amounts of cold water, about half a teaspoon at a time. Knead gently until the dough comes together smoothly.
- Achieving Vibrant Colors: For the best, most vibrant red, use gel food coloring. It’s more concentrated than liquid food coloring and won’t alter the dough’s consistency. Mix thoroughly but avoid overworking the dough once the color is added.
- Common Mistakes: Overworking the dough can lead to tough cookies. Not chilling the dough enough often results in flat, shapeless cookies. Baking on warm sheets causes immediate spreading, so always use cool or room-temperature baking sheets.
Serving, Storage, & Variations
These delightful candy cane cookies are incredibly versatile, perfect for sharing and enjoying throughout the season.
Serving Suggestions
Serve your freshly baked candy cane cookies with a steaming mug of hot chocolate or a rich cup of coffee. Arrange them beautifully on holiday cookie platters for a stunning visual display. They also make thoughtful and delicious homemade gifts when placed in decorative tins or festive bags.
Storage Instructions
Store baked candy cane cookies in an airtight container at room temperature. When stored properly, they will maintain their freshness and flavor for 1-2 weeks. This makes them ideal for preparing in advance of holiday gatherings.
Freezing Tips
You can easily freeze unbaked dough or shaped cookies for later. Wrap dough disks or shaped cookies tightly in plastic wrap, then place them in an airtight freezer bag for up to 3 months. Freeze baked cookies by placing them in a single layer in an airtight container with parchment paper between layers, lasting up to 2 months. Bake frozen shaped cookies a few minutes longer than fresh ones.
Variations
Experiment with different flavors for your candy cane cookies. Try a chocolate peppermint version by replacing a small amount of flour with cocoa powder in the red dough. You can also add crushed candy canes on top immediately after baking, pressing them gently into the warm cookies. For a different twist, use almond, lemon, or even orange extract instead of peppermint.
Nutrition
Enjoy these delightful candy cane cookies knowing their approximate nutritional values. Please remember that these figures are estimates and can vary based on specific ingredients and preparation.
| Nutrient | Amount |
|---|---|
| Calories | 111 kcal |
| Total Fat | 5 g |
| Saturated Fat | 3 g |
| Cholesterol | 24 mg |
| Sodium | 36 mg |
| Total Carbohydrate | 14 g |
| Dietary Fiber | 0 g |
| Total Sugars | 6 g |
| Protein | 2 g |
FAQ
Can I use oil instead of butter?
We don’t recommend using oil in this recipe, as butter is crucial for the tender texture and rich flavor of these shortbread-style cookies. Oil will significantly change the taste and consistency of your candy cane cookies.
Why did my candy cane cookies spread flat?
Flat cookies are usually a sign that your dough wasn’t chilled enough or your butter was too warm. Ensure your dough chills for at least 3 hours and that your baking sheets are cool.
Can I prepare the dough ahead of time?
Absolutely! You can prepare the dough up to 2-3 days in advance and keep it wrapped tightly in the refrigerator. This is a great way to spread out your holiday baking.
Conclusion
There’s no denying the festive charm and nostalgic appeal of homemade candy cane cookies. Their vibrant colors and refreshing peppermint flavor make them a staple on any holiday cookie platter. With this easy-to-follow recipe, you can effortlessly create these beautiful treats, even if you’re a beginner baker. Get ready to fill your home with the sweet aroma of the holidays and share these delightful cookies with loved ones. Happy baking!
Classic Candy Cane Cookies: A Festive Holiday Treat
Equipment
- Stand mixer
- Plastic wrap
- Baking sheet
- Parchment paper or silicon baking mat
- Wire cooling rack
Ingredients
Dough
- 2 sticks (227g) unsalted butter at room temperature
- 1 cup (200g) sugar
- 1 1/2 teaspoons peppermint extract
- 1 teaspoon vanilla extract
- 1 teaspoon baking powder
- 1/2 teaspoon kosher salt
- 1 large egg
- 2 3/4 cup (385g) all-purpose flour
- 1 teaspoon liquid red food coloring
Topping
- 1 egg white
- 2 tablespoons sparkling sugar
Instructions
Preparation
- Combine butter, sugar, peppermint, vanilla, baking powder, and salt in a stand mixer; beat until a paste forms and clings to the bowl.
- Scrape the bowl, beat in the egg until absorbed, then add flour and mix until just combined with no dry streaks.
- Divide the dough in half, remove one half, and mix red food coloring into the remaining dough until evenly colored.
- Form each dough half into a disk, wrap in plastic, and refrigerate for at least 3 hours or overnight.
Shaping & Baking
- Line a baking sheet with parchment paper or a silicone baking mat.
- Ensure the chilled dough is firm yet malleable; if too stiff, let it warm slightly, but avoid making it too soft.
- Roll a 1-inch piece of white dough into a 5-inch rope, and repeat with red dough, ensuring both ropes are the same length.
- Twist the red and white ropes together, transfer to the baking sheet, and shape into a candy cane.
- Continue shaping the remaining dough into candy canes, spacing them 2 inches apart on the baking sheet.
- Whisk egg white with water for a wash, then brush it onto each cookie and sprinkle with sparkling sugar.
- Bake for 8-10 minutes until edges are light brown, cool on the baking sheet for 10 minutes, then transfer to a wire rack.
Storage
- Store the cooled cookies in a sealed container at room temperature for one to two weeks.


